This will be a multipart post on setting up my Media/Web server.
Today's post will contain details on prepping for the actual installation.
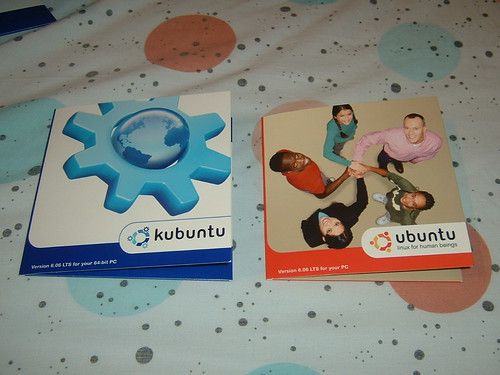
First I downloaded the KDE (I have been fond of KDE lately), Ubuntu flavor called Kubuntu you can find it here:
Kubuntu Live CD On the left hand side it has the option to download. Once you have the ISO downloaded, burn it as an Image to a disc.
Then setup your computer to boot to CD first, then boot into your linux.
Second I plugged in all my drives I planned on using into my server and formatted them, I used this page as a reference
Ehow Format a Hard Drive in Linux**Note Formatting will destroy all data on a disk, I didn't try it but I imagine that re-partitioning could potentially cause problems as well, so make sure your data is all backed up on a drive you aren't formatting or re-partitioning.
First open a terminal.
First I deleted all the partitions using fdisk, then created a new partition (only one partition per disc for my setup is what I decided), I setup the partition type (I simply followed the instructions on the linked page and used EXT2).
Here's the commands I used:
sudo fdisk -lThis will give you a listing of all the drives attached as well as partitions,
You'll note that some drives will show /dev/hdx, and some will show /dev/sdx, depending on the number of drives you have installed, in my case I have 3 drives so I'll be doing the follwing steps 3 times one for each in my case I had /dev/sda, /sdb, and /sdc.
I started with /dev/sda so my next command was:
sudo fdisk /dev/sdaThis starts up fdisk and tells it we are working on the sda drive.
Depending on how many partitions you have you may need to take a few steps here, but in my case I only had one partition so I simply typed
d and hit enter and it deleted my only partition, if you have multiple partitions you would be asked which partition to do, once you are down to one partition it won't ask anymore it assumes that it is supposed to delete the last partition.
Next I typed
n, after this fdisk will ask you what kind of partition this is, In my case it's a primary partition, so I typed
p, After that I simply left the defaults, here you can setup the size of your partition, if you plan on using multiple partitions, then you would specify the sizes you would like, but since i only want one partition I just left them all default by hitting enter at each prompt.
Next we'll setup what kind of partition this will be, type a
t, now it will ask you what kind, I used
83, This is a standard linux partition, there are other ones such as ext3, ntfs, fat16 etc, these can be shown by typing an
L, if for some reason you don't want to use 83, just type the number of the partition type you do want.
Finally we'll write the partition out, by typing a
w this will write out all our changes to the disk, up until this point you can cancel what you had done by just backing out, but now you've written
to the disk and things are final,
Next we'll Make the file system using mkfs.
our next command will be
sudo mkfs -t ext2 /dev/sda1
What we're doing is running the tool mkfs (which I believe stands for make filesystem), and telling it that the type (-t) is ext2 and telling it which drive to do it to, since I only have one partition I would use /dev/sda1, if you have multiple partitions you would use your applicable one in this case as well. Also if you used a different filesystem then ext2 you would specify it as well.
This will take a little while depending on the size of your drive, my 250GB drive didn't take too long, maybe 5-10 minutes.
Finally we are ready to format our drive using the command:
sudo fsck -f -y /dev/sda1What this commad does is run File System Check the option -y will attempt to fix any problems (info found
here).
What -f means is that it does a "fast check", if you have had disk problems in the past you may want to leave this off and let it do a thourough check. (info found
here)
Now you just repeat each of the steps for each drive!!!
Tune in when I install the Ubuntu Server Edition!!!
Links used:
http://blog.diyersitzone.net/2009/03/30/how-to-repair-a-corrupted-filesystem-in-ubuntu/
http://manpages.ubuntu.com/manpages/hardy/man8/fsck.8.html
http://www.ehow.com/how_1000631_hard-drive-linux.html
http://www.kubuntu.org/


